
Hi, guys I am back with another fantastic project in this project I created an e-commerce website Product Card Using HTML and CSS only.
I also give my readers and followers the full source code for this project at no cost there is no need to subscribe. These code files are free to download and use.
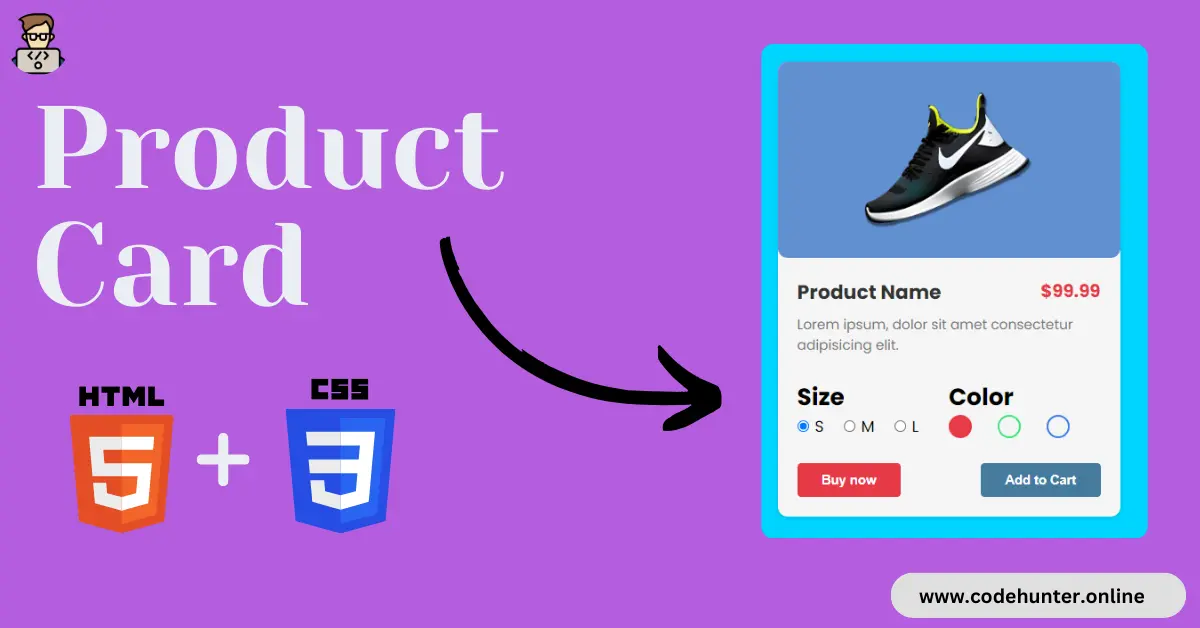
Product Card
A product card in an e-commerce website is a visual representation of a specific product. It is a design element on the website that provides key information about the product in a concise and organized manner. The product card is typically displayed in a grid format, making it easy for users to browse multiple products.
Key elements usually found in a product card include:
1. Product Image: A clear and high-quality image of the product, allowing customers to see what the product looks like.
2. Product Title: The name or title of the product, providing a brief description of what it is.
3. Price: The cost of the product, enabling customers to quickly assess whether it fits within their budget.
4. Add to Cart or Buy Now Button: A prominent button that allows users to add the product to their shopping cart or proceed directly to the checkout.
5. Product Rating: A visual representation of the product’s average rating, often displayed using stars or another symbol.
6. Product Description: A short description that highlights key features or benefits of the product.
7. Product Specifications: Relevant technical details or specifications, depending on the type of product.
8. Availability Status: Information on whether the product is in stock or out of stock.
The product card is designed to be visually appealing and user-friendly, providing shoppers with the essential information needed to purchase at a glance. It serves as a gateway for users to learn more about a product and take the next steps toward making a purchase.
About This Project
This project was created by the Code Hunter team to help students learn coding and programming. If you want to join our team please follow us on Instagram.
| Created by | Ahmed Developer |
| Languages | HTML and CSS |
| Source Code | Available Below |
| Preview | Take Preview |
| GitHub Link | Code Link |
How to Create a Product Card
There are some steps to create this type of Product Card Using HTML, and CSS, that is given below. Follow these steps.
- The first step is to create one folder.
- Open this folder in Vs Code Editor and create two (2) files in HTML and CSS.
- Make sure the HTML file extension is (.html), and the CSS file extension is (.css).
- After creating files, you link a CSS file with an HTML file with the help of this line code. (<link rel=”stylesheet” href=”style.css”>)
- The last step is copying and pasting the given code into your files.
Video Tutorial
If you want to learn more about this project please watch this video and also subscribe to this YouTube channel for more content like this. This video is provided by Sona Coder.
Product Card Using HTML and CSS – Source Code
HTML FILE
<!DOCTYPE html>
<html lang="en">
<head>
    <meta charset="UTF-8">
    <meta http-equiv="X-UA-Compatible" content="IE=edge">
    <meta name="viewport" content="width=device-width, initial-scale=1.0">
    <title>Product Card</title>
    <link rel="stylesheet" href="style.css">
</head>
<body>
    <div class="product-card">
        <div class="product-image">
          <img src="image.png" alt="Product Image">
        </div>
        <div class="product-details">
            <div class="detail-top">
                <h2 class="product-title">
                    Product Name
                </h2>
                <span class="product-price">$99.99</span>
            </div>
            <p class="product-description">
                Lorem ipsum, dolor sit amet consectetur adipisicing elit.
            </p>
            <div class="selection-section">
                <div class="section size-section">
                    <h2 class="section-header">
                        Size
                    </h2>
                    <form class="radio-group radio-group-1">
                        <input type="radio" id="radio1" name="radio-group-1" checked/>
                        <label for="radio1">S</label>

                        <input type="radio" id="radio2" name="radio-group-1" />
                        <label for="radio2">M</label>

                        <input type="radio" id="radio3" name="radio-group-1" />
                        <label for="radio3">L</label>
                    </form>
                </div>

                <div class="section color-section">
                    <h2 class="section-header">
                        Color
                    </h2>
                    <form class="radio-group-2">
                        <input type="radio" id="color1" name="radio-group-2" checked/>
                        <label for="color1"></label>

                        <input type="radio" id="color2" name="radio-group-2" />
                        <label for="color2"></label>

                        <input type="radio" id="color3" name="radio-group-2" />
                        <label for="color3"></label>
                    </form>
                </div>
            </div>

            <div class="btn-group">
                <button class="product-button">Buy now</button>
                <button class="product-button">Add to Cart</button>
            </div>
        </div>
    </div>

    <div class="attribute">
        Create by
        <a href="https://www.linkedin.com/in/ahmed-raza-developer/">
            Ahmed Developer
        </a >
    </div>
</body>
</html>
CSS FILE
@import url('https://fonts.googleapis.com/css2?family=Poppins:wght@400;600;700&display=swap');

*{
    box-sizing: border-box;
    margin: 0;
    padding: 0;
}
body {
    font-family: sans-serif;
    min-height: 100vh;
    width: 100%;
    display: flex;
    align-items: center;
    justify-content: center;
    background-color: rgba(0,213,255,1);
    font-family: 'poppins';
    position: relative;
}
.product-card {
    display: flex;
    flex-direction: column;
    width: 350px;
    background-color: #f5f5f5;
    border-radius: 10px;
    box-shadow: 0 2px 4px rgba(0, 0, 0, 0.1);
}
.product-image{
    height: 200px;
    display: flex;
    align-items: center;
    justify-content: center;
    background-color: #6190d1;
    border-radius: 10px;
}
.product-image img {
    width: 50%;
    border-radius: 8px 8px 0 0;
}

.product-details {
    padding: 20px;
}
.detail-top{
    width: 100%;
    display: inline-flex;
    justify-content: space-between;
}
.product-title {
    font-size: 20px;
    font-weight: bold;
    color: #333;
}

.product-description {
    font-size: 14px;
    color: #777;
    margin-bottom: 10px;
}

.product-price {
    font-size: 18px;
    font-weight: bold;
    color: #e63946;
    margin-bottom: 10px;
}
.btn-group{
    margin-top: 10px;
    width: 100%;
    display: flex;
    align-items: center;
    justify-content: space-between;
}
.product-button {
    color: #fff;
    border: none;
    padding: 10px 25px;
    border-radius: 4px;
    cursor: pointer;
    transition: background-color 0.3s ease;
    font-weight: bold;
}
.product-button:nth-child(1){
    background-color: #e63946;
}
.product-button:nth-child(1):hover {
    background-color: #f76974;
}

.product-button:nth-child(2){
    background-color: #457b9d;
}
.product-button:hover {
    background-color: #1d3557;
}

.selection-section{
    width: 100%;
    display: flex;
}
.section{
    margin: 15px 0;
}
.size-section {
    width: 50%;
}
.radio-group{
    display: flex;
    align-items: center;
}
.section input[type='radio']{
    margin-right: 5px;
    cursor: pointer;
}
.section label:not(:last-child){
    margin-right: 20px;
}

.radio-group-2  input[type='radio'] {
    display: none;
}

.radio-group-2  input[type='radio'] + label {
    position: relative;
    padding-left: 30px;
    cursor: pointer;
}

.color-section  input[type='radio'] + label::before {
    content: '';
    position: absolute;
    top: 50%;
    left: 0;
    transform: translateY(-50%);
    width: 20px;
    height: 20px;
    border-radius: 50%;
}
.color-section  input[type='radio']:nth-child(1) + label::before {
    border: 2px solid #e63946;
}
.color-section  input[type='radio']:nth-child(3) + label::before {
    border: 2px solid #39e677;
}
.color-section  input[type='radio']:nth-child(5) + label::before {
    border: 2px solid #397ee6;
}
.color-section  input[type='radio']:nth-child(1):checked  + label::before {
    background-color: #e63946;
}
.color-section  input[type='radio']:nth-child(3):checked  + label::before {
    background-color: #39e677;
}
.color-section  input[type='radio']:nth-child(5):checked  + label::before {
    background-color: #397ee6;
}

.attribute{
    position: absolute;
    bottom: 10px;
}
Related Content
- How To Create a Profile Card Using HTML and CSS – Complete Source Code
- Build an Interactive Responsive Navigation Bar with HTML, CSS, and JS – Free Source Code
- How to Create Animated Social Icon With Hover Effect using HTML and CSS
Final Words
Mastering the creation of attractive product cards using only HTML and CSS empowers developers to enhance the visual appeal of e-commerce websites.
By combining these fundamental web technologies, developers can craft sleek, responsive product cards that captivate users and drive informed purchasing decisions.
This skill is crucial in the dynamic world of online shopping, where concise and visually appealing product displays contribute significantly to a positive user experience.